Project 4: Synthesizing
"Only when I'm dancing can I feel this free."
My inspiration for this project came from the environment around me. In the level one class there was a girl etching glass to do more printing. I thought it was really interesting so I decided to look up etched plexiglass on google. I was amazed by the results that came up. There were tones of pictures of illuminated etched plexiglass. I want to etch dancers into the plexiglass. The dancers will be line sketches with the lines unfinished, but fluid at the same time. I want to capture the quick movements of dancers. You know how if you take a picture of someone moving and part of it is blurred, I want it to represent that.
Synthesizing will be my skill for this project. Synthesizing is pulling together smaller pieces to understand the greater whole. I will show synthesizing by bringing the different motions of dance together to create one image. Dance is just a bunch of movements pieced together. The lines are not finished so it has more of a feel of movement. I want it to feel like it is going from one movement to the next. I am creating a dance on the glass.
I had to do a lot of research on how to create this piece. First I looked up picture for reference and style of what I like. Then I looked up tones of videos on how to do it. I ended up using this one particular video for assistance.
By David Fiend
By David Farish and Bodinho
By Signsalive.net
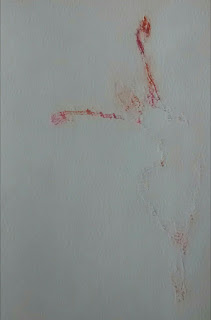
I started by creating a few sketches of dancers in the way that I wanted them. I played around with different ways of drawing dancers with just lines. I likes the look of the swirly and pretty lines. For reference I just looked at random pictures of dancers. Then I taped two pieces of paper together because I wanted the dancers to go across the page. I drew what I wanted to be on my final piece.
I took one of my sketches and I practiced etching on a piece of scrap glass. I wanted to make sure I knew how to control and work the etcher. With practice, my etching became cleaner and I was ready to work on my final piece, but before that I used my practice run of etching to try a printing. It worked ok, but the glass should have been engraved deeper.
Trial 1
Trial 2
Trial 3
To achieve my final piece of illuminated plexiglass I have to first get materials. I got a piece of plexiglass the size of my drawing and I got an etcher. I also order a remote controlled LED lights. Now, I started etching my piece into the glass. It took forever and I had to go over the lines multiple times so it would be deep enough. Once that was done, I needed a base. I went to our tech department and asked for some scrap wood. I used wood glue to glue it together. I then had to put pieces of chip board in the base to keep the glass standing straight up because the gap had to be the size of the led lights which is bigger then the glass. The lights were capable of many colors and many patter settings, but here are a picture of a few.
I am so happy with the end result of this and I followed the criteria well. I made sure I followed through with my thinking skill. I worked in and out of class. I didn't let anything stop me from completing my project, even though I had many obstacles. Next time I could do a better job by spending more time picking wood that went all together.


Comments
Post a Comment